
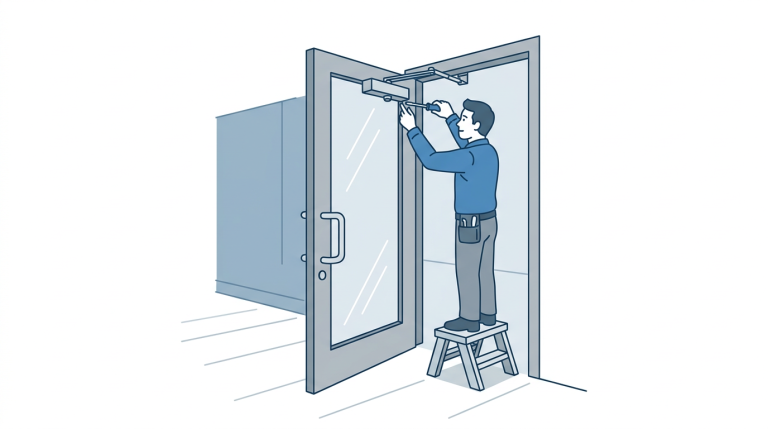
Field troubleshooting is where technical knowledge meets real‑world problem‑solving, requiring a systematic approach to identify and resolve complex door and hardware issues. Technicians have to learn to “read” the opening—hinge wear, strike marks, closer behavior, and user patterns—before they ever pick up a screwdriver. Using consistent observation, simple tests, and precise measuring tools makes it much easier to find root causes and apply permanent, code‑compliant fixes instead of quick patches.
Think of this as a 101‑level roadmap for how to approach problem doors: what to look at first, how to separate symptoms from causes, and which tools actually help you make good decisions in the field.
Systematic Observation and Diagnosis Techniques
A simple way to structure any troubleshooting call is to start with three questions: How is it supposed to work? What is it doing now? When did it start doing it? This is how I approached every job when I was out in the field. The first question forces you to picture the correct operation—hardware function, egress expectations, and user behavior. The second clarifies the exact symptom instead of vague complaints like “it doesn’t work right,” and the third ties the problem to a change in conditions, such as new flooring, weather, hardware changes, or access control programming. Those answers guide what you look at first and keep you from jumping straight to random adjustments.
Good troubleshooting starts with structured observation. Before you touch the door, watch it operate a few times: how far it opens, whether it rubs or binds, how the latch hits the strike, and whether the closer brings it fully to the frame. Uneven gaps, chipped paint around the strike, or a latch that rides high or low all tell you something about the underlying problem.
Next, talk to the people using the opening. Ask when the issue occurs—only at certain times of day, only on windy days, only when the building is busy. Patterns like “it only sticks in the winter” or “it only fails when the card reader is busy” can point you toward building movement, weatherstrip drag, or marginal power instead of a bad lock or closer. Taking a minute to gather this information up front saves time and keeps you from chasing the wrong issue.
Finally, isolate systems as much as possible. For example, test the door mechanically with the closer disconnected, then test the lock separately, then test the electric side. This “one change at a time” approach helps you see which component is actually causing the symptom rather than adjusting everything and hoping for the best.
Identifying Root Causes of Mechanical and Electrical Failure
Most mechanical failures at the door trace back to a few common root causes: misalignment, wear, or insufficient support. Misaligned frames, sagging doors, and shifted strikes all show up as latching problems, rubbing, or hardware that seems “weak” even when it’s not. Wear patterns on hinges, latch faces, and strikes often reveal which part of the opening has been carrying too much load or has been out of alignment for a long time.
On the electrical side, many failures are ultimately power or wiring issues, not bad hardware. Marginal power supplies, excessive voltage drop on long runs, loose terminations, and damaged cable can all cause intermittent behavior—locks that sometimes fail to retract, readers that reset, or strikes that buzz without fully releasing. Software and programming problems are also common, but they should be checked after you’ve confirmed that devices have clean power, solid wiring, and correct physical installation.
The key to root cause analysis is to keep asking “why” until you get to something you can fix permanently. Rather than stopping at “the latch is hitting low,” you push to “the frame moved,” “the top hinge screws are loose,” or “the wrong anchors were used for this wall type.” That’s the level where your repair actually prevents the issue from coming back.
Using Specialized Tools for Field Troubleshooting
While a basic hand‑tool kit is essential, effective troubleshooting depends on a few specialized tools. A good tape measure and feeler gauges (or even simple shims) help you quantify margins and clearances instead of guessing whether a gap is “about right.” A small level and square let you check whether frames are plumb and whether the door is sitting correctly in the opening.
For mechanical issues, simple “marking” tricks—like using chalk or a lipstick test on the latch and strike—can show exactly where parts are contacting and how far they’re out of alignment. On the electronic side, a multimeter and, when needed, a clamp meter or low‑voltage test load can confirm whether power is actually reaching devices at the correct voltage under load. Having a few common fasteners, hinge screws, and strike shims in your kit rounds out the ability to make solid, lasting adjustments once you’ve diagnosed the problem.
The point of these tools isn’t to complicate your work—it’s to turn vague impressions into measurable facts. When you can say, “the head margin is tight by 1/8 inch on the lock side” or “the strike is 3/16 inch low,” it becomes much clearer what needs to move and by how much.
Start with three questions: How is it supposed to work, what is it doing now, and when did it start doing it. Watch the door operate a few times before touching anything, looking at gaps, hinge movement, strike contact, and closer behavior so you’re fixing the real cause, not just a symptom.
A door that won’t latch usually has an alignment issue—sagging from loose or worn hinges, a frame that has shifted, or a strike that no longer lines up with the latch. Marking the latch and lightly closing the door shows exactly where it hits the strike so you can decide whether to adjust hinges, move the strike, or address a twisted frame or damaged hardware.
Intermittent access problems are often caused by marginal power, voltage drop, loose terminations, or damaged cable rather than bad readers or locks. Verify voltage at the device under load, check wiring and connections, then review controller logs, schedules, and access levels to see whether failures line up with certain times, temperatures, or traffic patterns.
Uneven wear on strikes, latch faces, and hinges is a history of how the opening has been working. Shiny spots at the top or bottom of the strike cutout often indicate sagging or shifted frames, while heavy wear on hinge knuckles can point to an undersized hinge, missing fasteners, or a door that has been carrying more weight than it was designed for.
Simple tools—tape measure, feeler gauges or shims, a small level, and a square—turn “it looks off” into specific numbers you can act on. On the electronic side, a multimeter and, when needed, a clamp meter or test load let you verify actual voltage and current at the device instead of guessing based on panel readings.
Isolate systems one at a time. Test the door mechanically with the closer or lock disconnected, then test the lock or exit device alone, then test the electronic control and power; changing only one variable at a time makes it clear which component is causing the symptom instead of chasing all three at once.
Final Thoughts
Field troubleshooting is less about guessing and more about building a repeatable process: observe carefully, test one thing at a time, measure instead of eyeballing, and keep pushing until you reach the true cause of the problem. When you combine that mindset with a basic set of specialized tools and an understanding of how mechanical and electronic systems interact at the door, even the most stubborn openings start to make sense.
This introduction is meant to give you a framework for how to think in the field, not a step‑by‑step for every possible failure. The more real‑world problems you tackle using a structured approach, the more naturally you’ll spot patterns and fix issues in ways that last.